
Step-by-step

Step 1
You can see everything you need for this project in the picture below. In our example, we’ve chosen to use edding glitter brush pens in blue, red, light green, violet and black.

Step 2
Start by downloading and printing a copy of the card design. If the paper you’re using is thin enough, you may be able to trace the design onto your paper. However, most greetings cards are made from thicker card, in which case you’ll need to copy the design onto your card using a pencil. Once your pencil outline is complete, colour in the Christmas-tree branches using your light green glitter pen.

Step 3
Next, bring the tree to life by adding a few dashes of blue that are wider in the middle of the branch and become narrower at the tips. Thanks to their brush nib, the glitter pens are perfect for this.

Step 4
Colour the broken baubles (shown here in red and violet). You can also add finer details using the very tip of the brush nib.

Step 5
Finally, use your black glitter pen to draw round the outline of the cat and add the speech bubble with the words “Ho ho oh”. The tip of the brush nib is ideal for this, too. And that’s it – your greetings card is ready!
Products and materials

Other materials
- Blank white greetings card or white paper
- Pencil
Templates

Additional images

Related ideas

For dinosaurs lovers big and small!
Create your own unique gift wrap

Christmas gift idea
Design your own cookie jar!
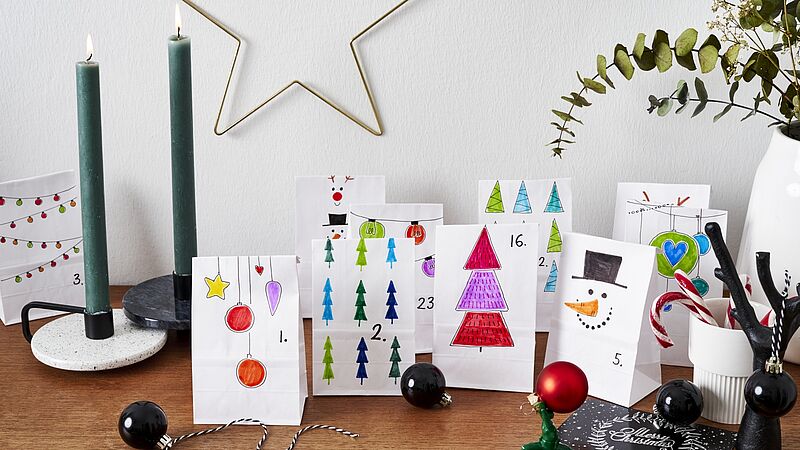
Paper bag advent calendar
Bags of colourful surprises for your nearest and dearest
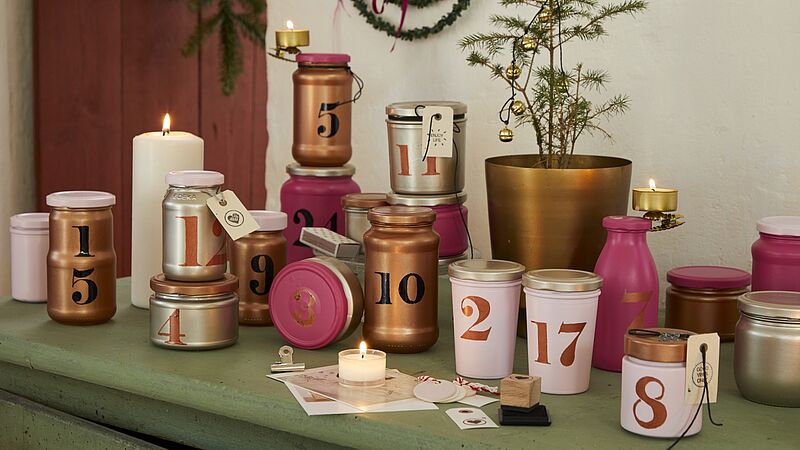
Advent calendar using glass jars
A special surprise in every jar

Festive baking fun
Everything nicely stored and close at hand

A magical festive gift
Hand-painted porcelain biscuit tin and mug
Creative Newsletter
Subscribe to our newsletter, and we’ll send you inspirational and creative DIY ideas, along with details of our latest products and special offers.